Teams
View or Edit Information About A Team
On the left side-bar menu, click on “Admin Area” if it is visible.
On the left side-bar menu, click on “Teams”. A page like the one below will appear.
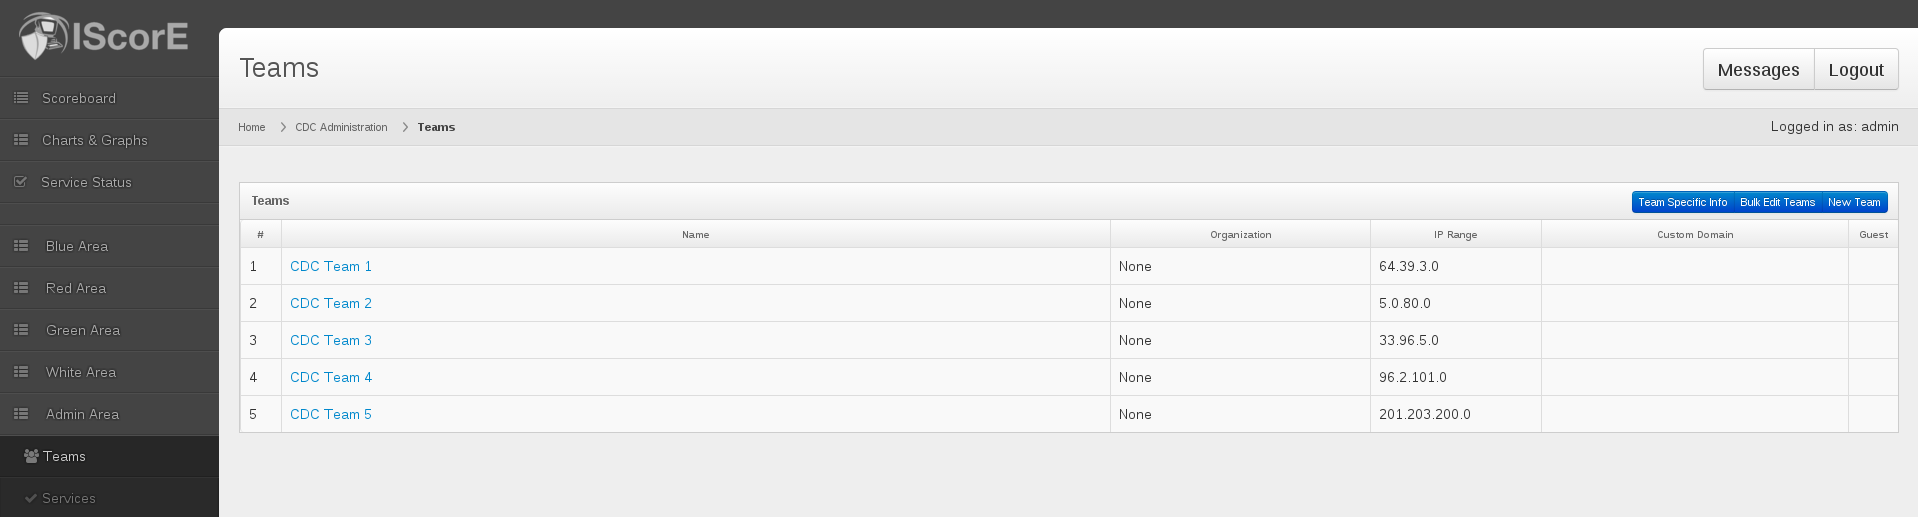
Click on a team’s name to view in-depth information about the team. A form like below will appear.
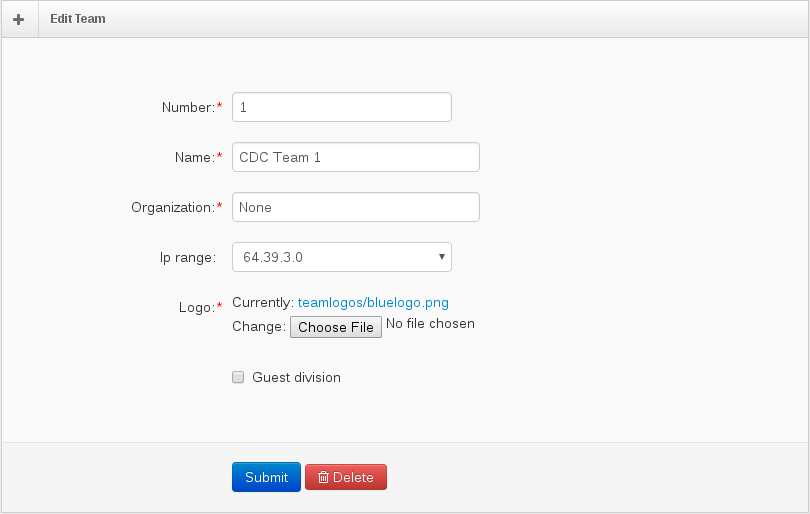
The form shows the current number, name, organization, IP range, logo, and guest division status for the team.
If you wanted to change a value:
- Change any values you want to change.
- Click the blue “Submit” button.
Delete A Team
On the left side-bar menu, click on “Admin Area” if it is visible.
On the left side-bar menu, click on “Teams”. A page like the one below will appear.
Click on the name of the team you want to delete. A form like the one below will appear.
Click on the red “Delete” button. A message box like the one below will appear.
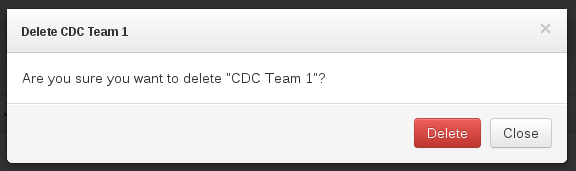
Click on the red “Delete” button.
Bulk Edit Team Information
On the left side-bar menu, click on “Admin Area”.
On the left side-bar menu, click on “Teams”. A page like the one below will appear.
Click the blue “Bulk Edit Teams” button that is the center button in the upper right hand corner. A page like the one below will appear.
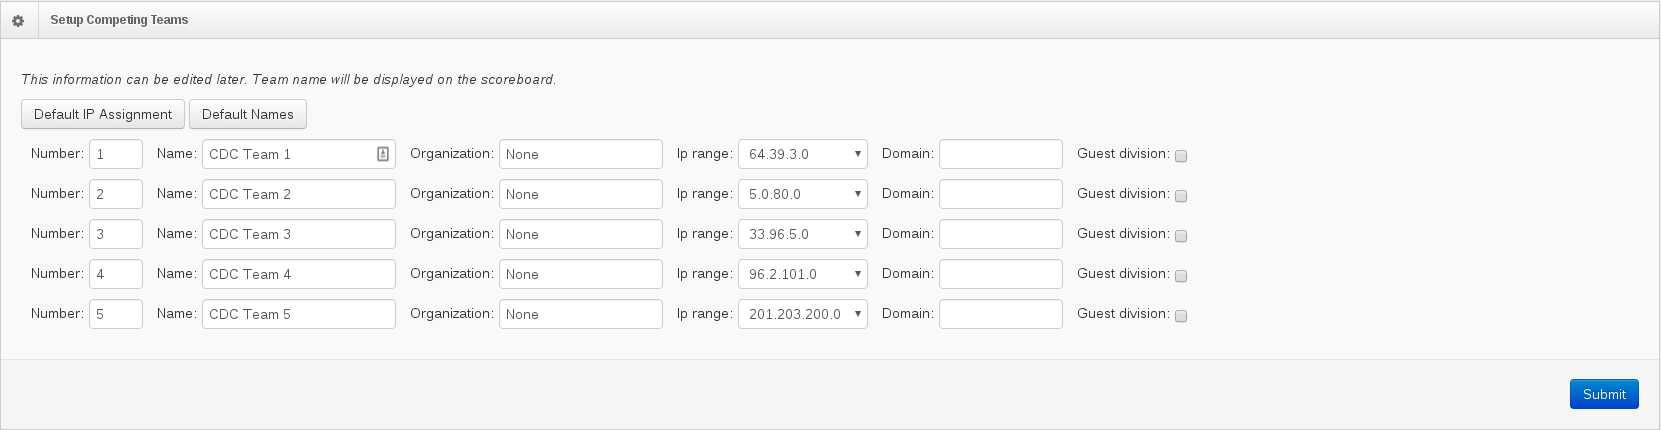
If you want to use the default IP addresses, click the white “Default IP Ranges” in the upper left corner.
If you want to use the default team names, .e.e CDC Team 1, CDC Team 2, etc., click the white “Default Names” button in the upper left corner.
Change the number, name, organization, IP range, and domain as desired.
Select or unselect the guest division checkbox if you want to place or remove the team from the guest division respectively.
Click the blue “Submit” button in the bottom right corner to save your changes.
Add A New Team
Note
Additional data will be generated with the following assumptions:
- Services have shared credentials
- Services have a url based on the first service’s url
<name>.teamN.<TEAM_DOMAIN_SUFFIX>. - Flags will be generated with random data of length 50
It will NOT generate team specific info.
On the left side-bar menu, click on “Admin Area”.
On the left side-bar menu, click on “Teams”. A page like the one below will appear.
Click the “New Team” button in the upper right corner. A form like the one below will appear.
Fill out the fields. The fields are described below.
- Number
Team Number of the new team
- Name
Team Name of the new team
- Organization
Organization, if any, that the team belongs to.
- IP Range
Assigned IP Range for the team.
- Domain
The team’s Custom Domains.
- Guest Division
Whether or not the team is in the guest division.
Click on the blue “Submit” button.